the stencil & the pour
Starting with a blank wood panel, I use painters tape to create a stencil. Stencils can be any shape depending on the theme of the painting. I use different tools to create the stencil including the painters tape itself, a drafting compass, and everyday objects (coins, plates, purchased stencil templates).
Once the stencil is created and applied to the panel, I use a potters’ burnishing tool (typically a piece of hard, shaped wood) to press the tape into the substrate. This creates a tight seal between the panel and the tape to prevent the paint from bleeding.
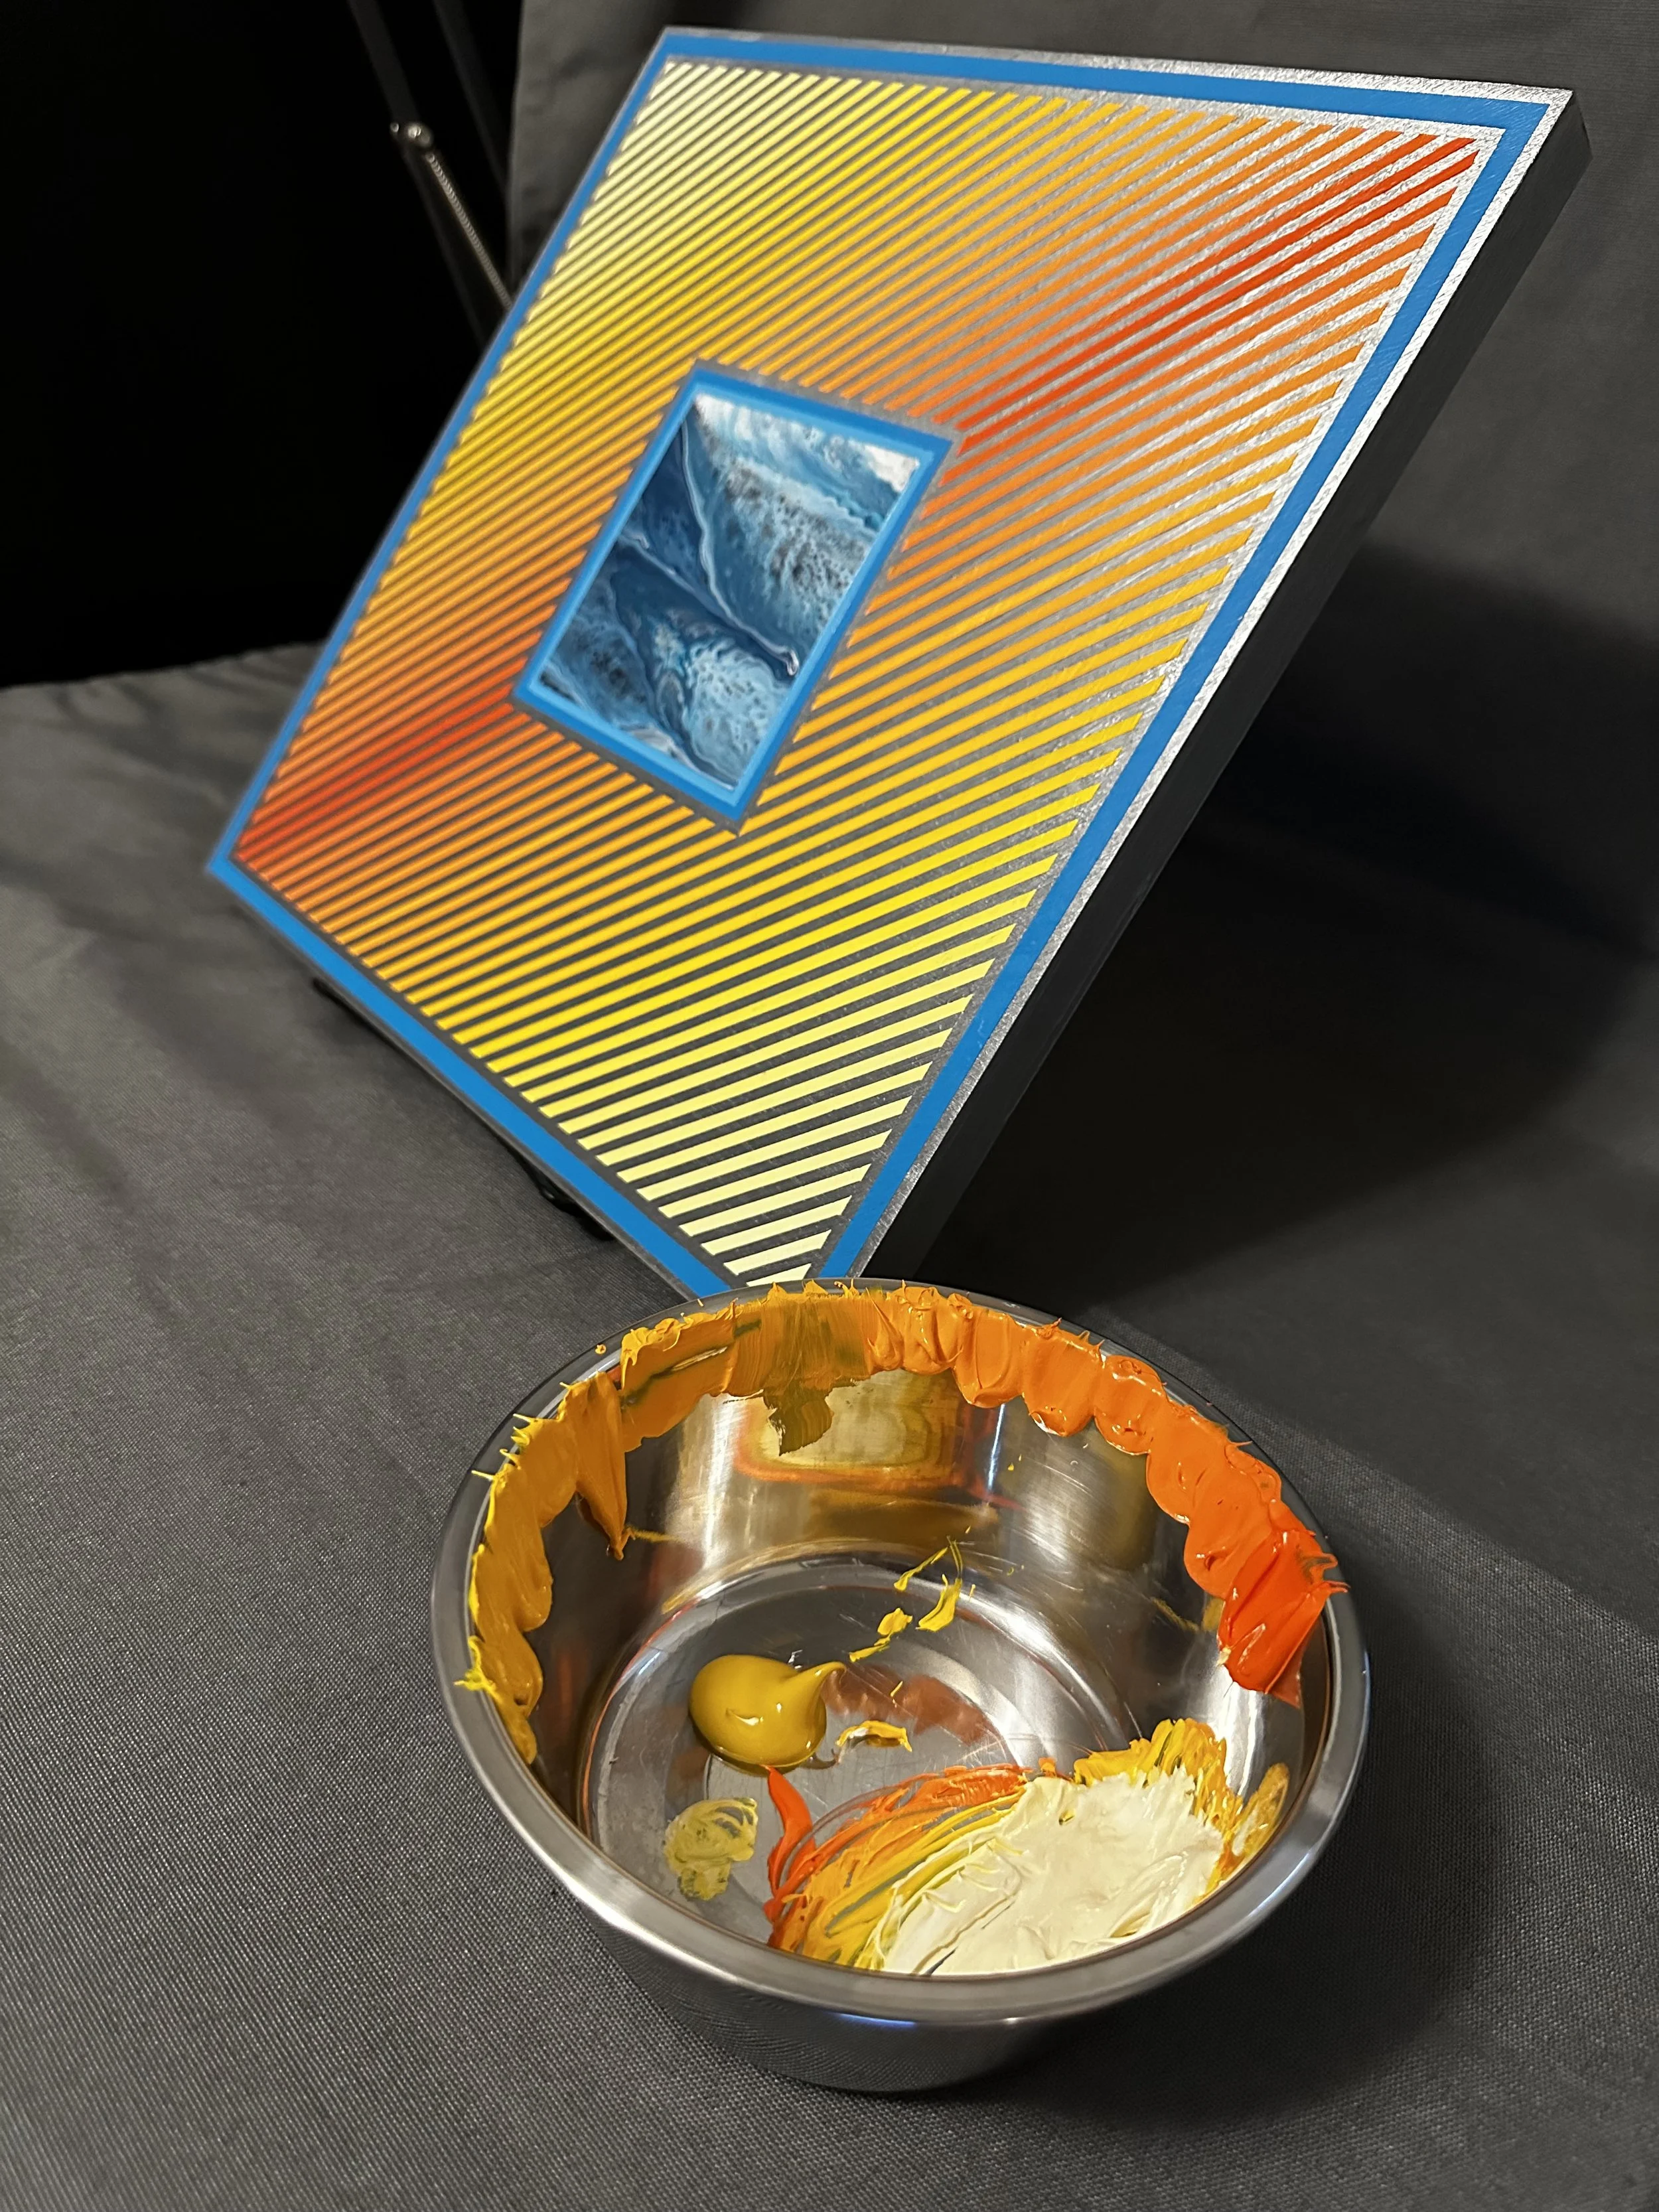
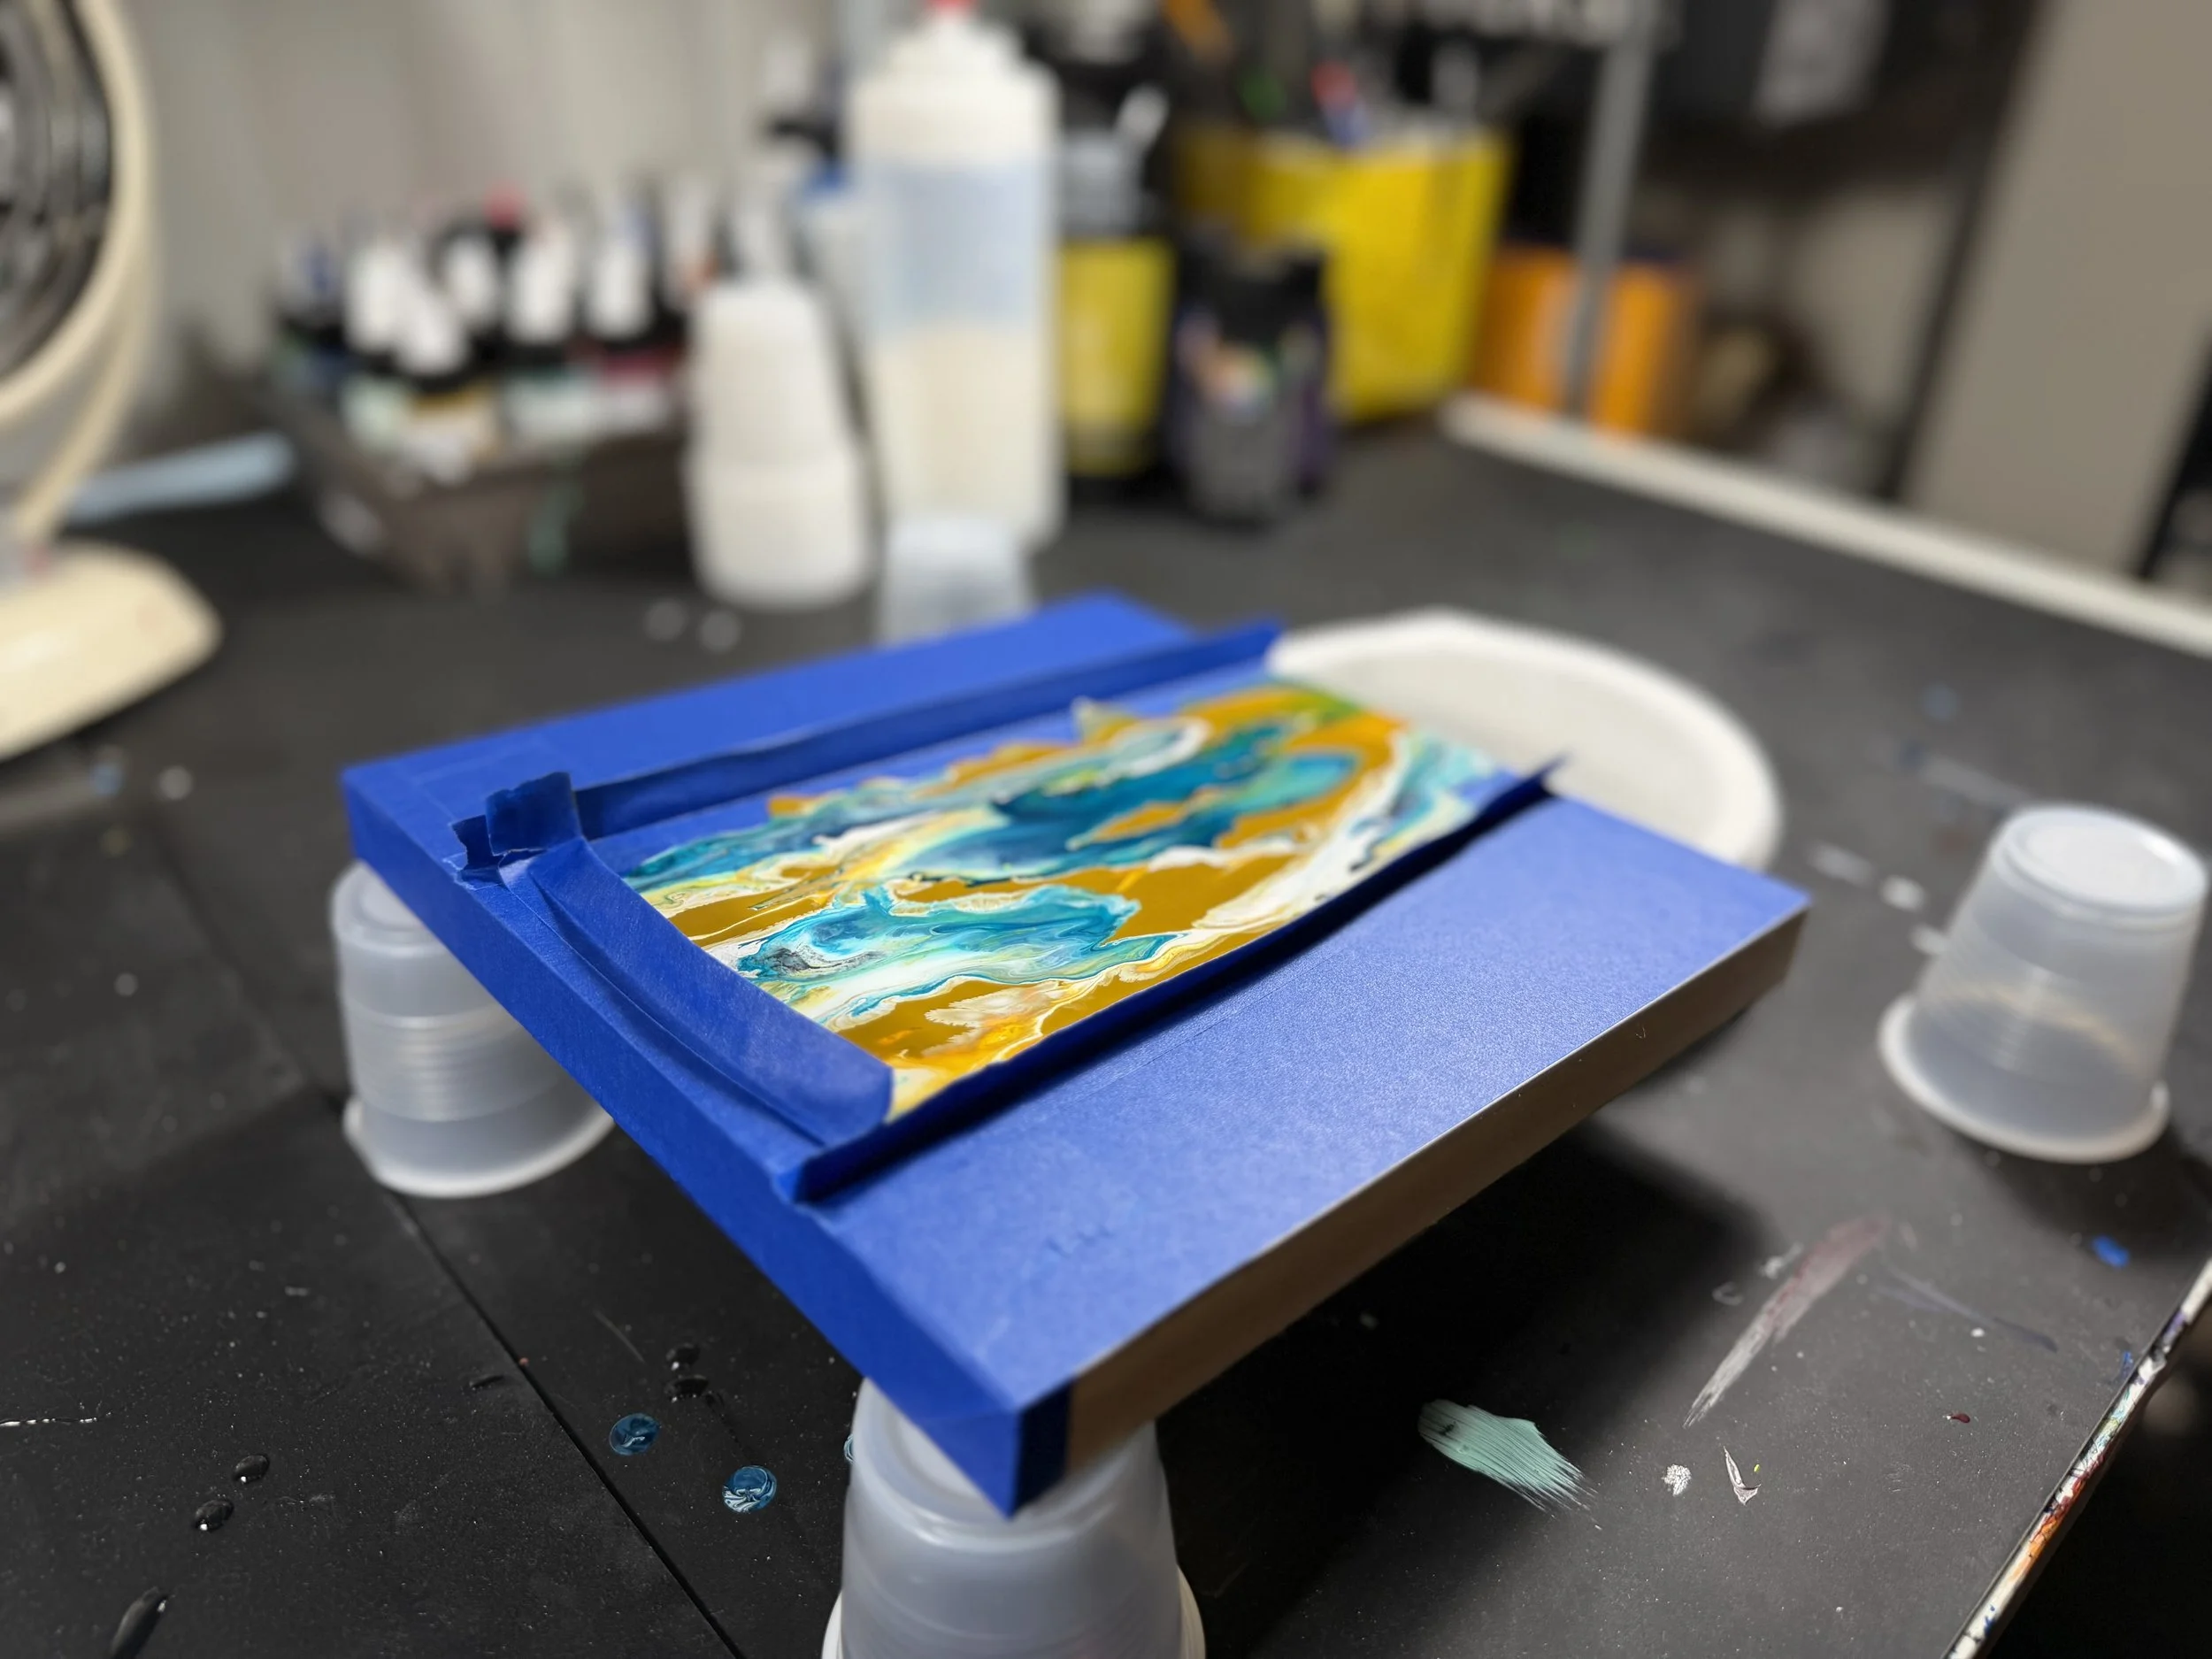
Finally, if a paint pour is the focal point, I use a combination of latex fluid mediums, high flow acrylic paints, and/or oils to create dynamic pouring elements.
the paint/tape cycle
Once the pour has completely dried, I cover it with tape to ensure isn’t accidentally painted over.
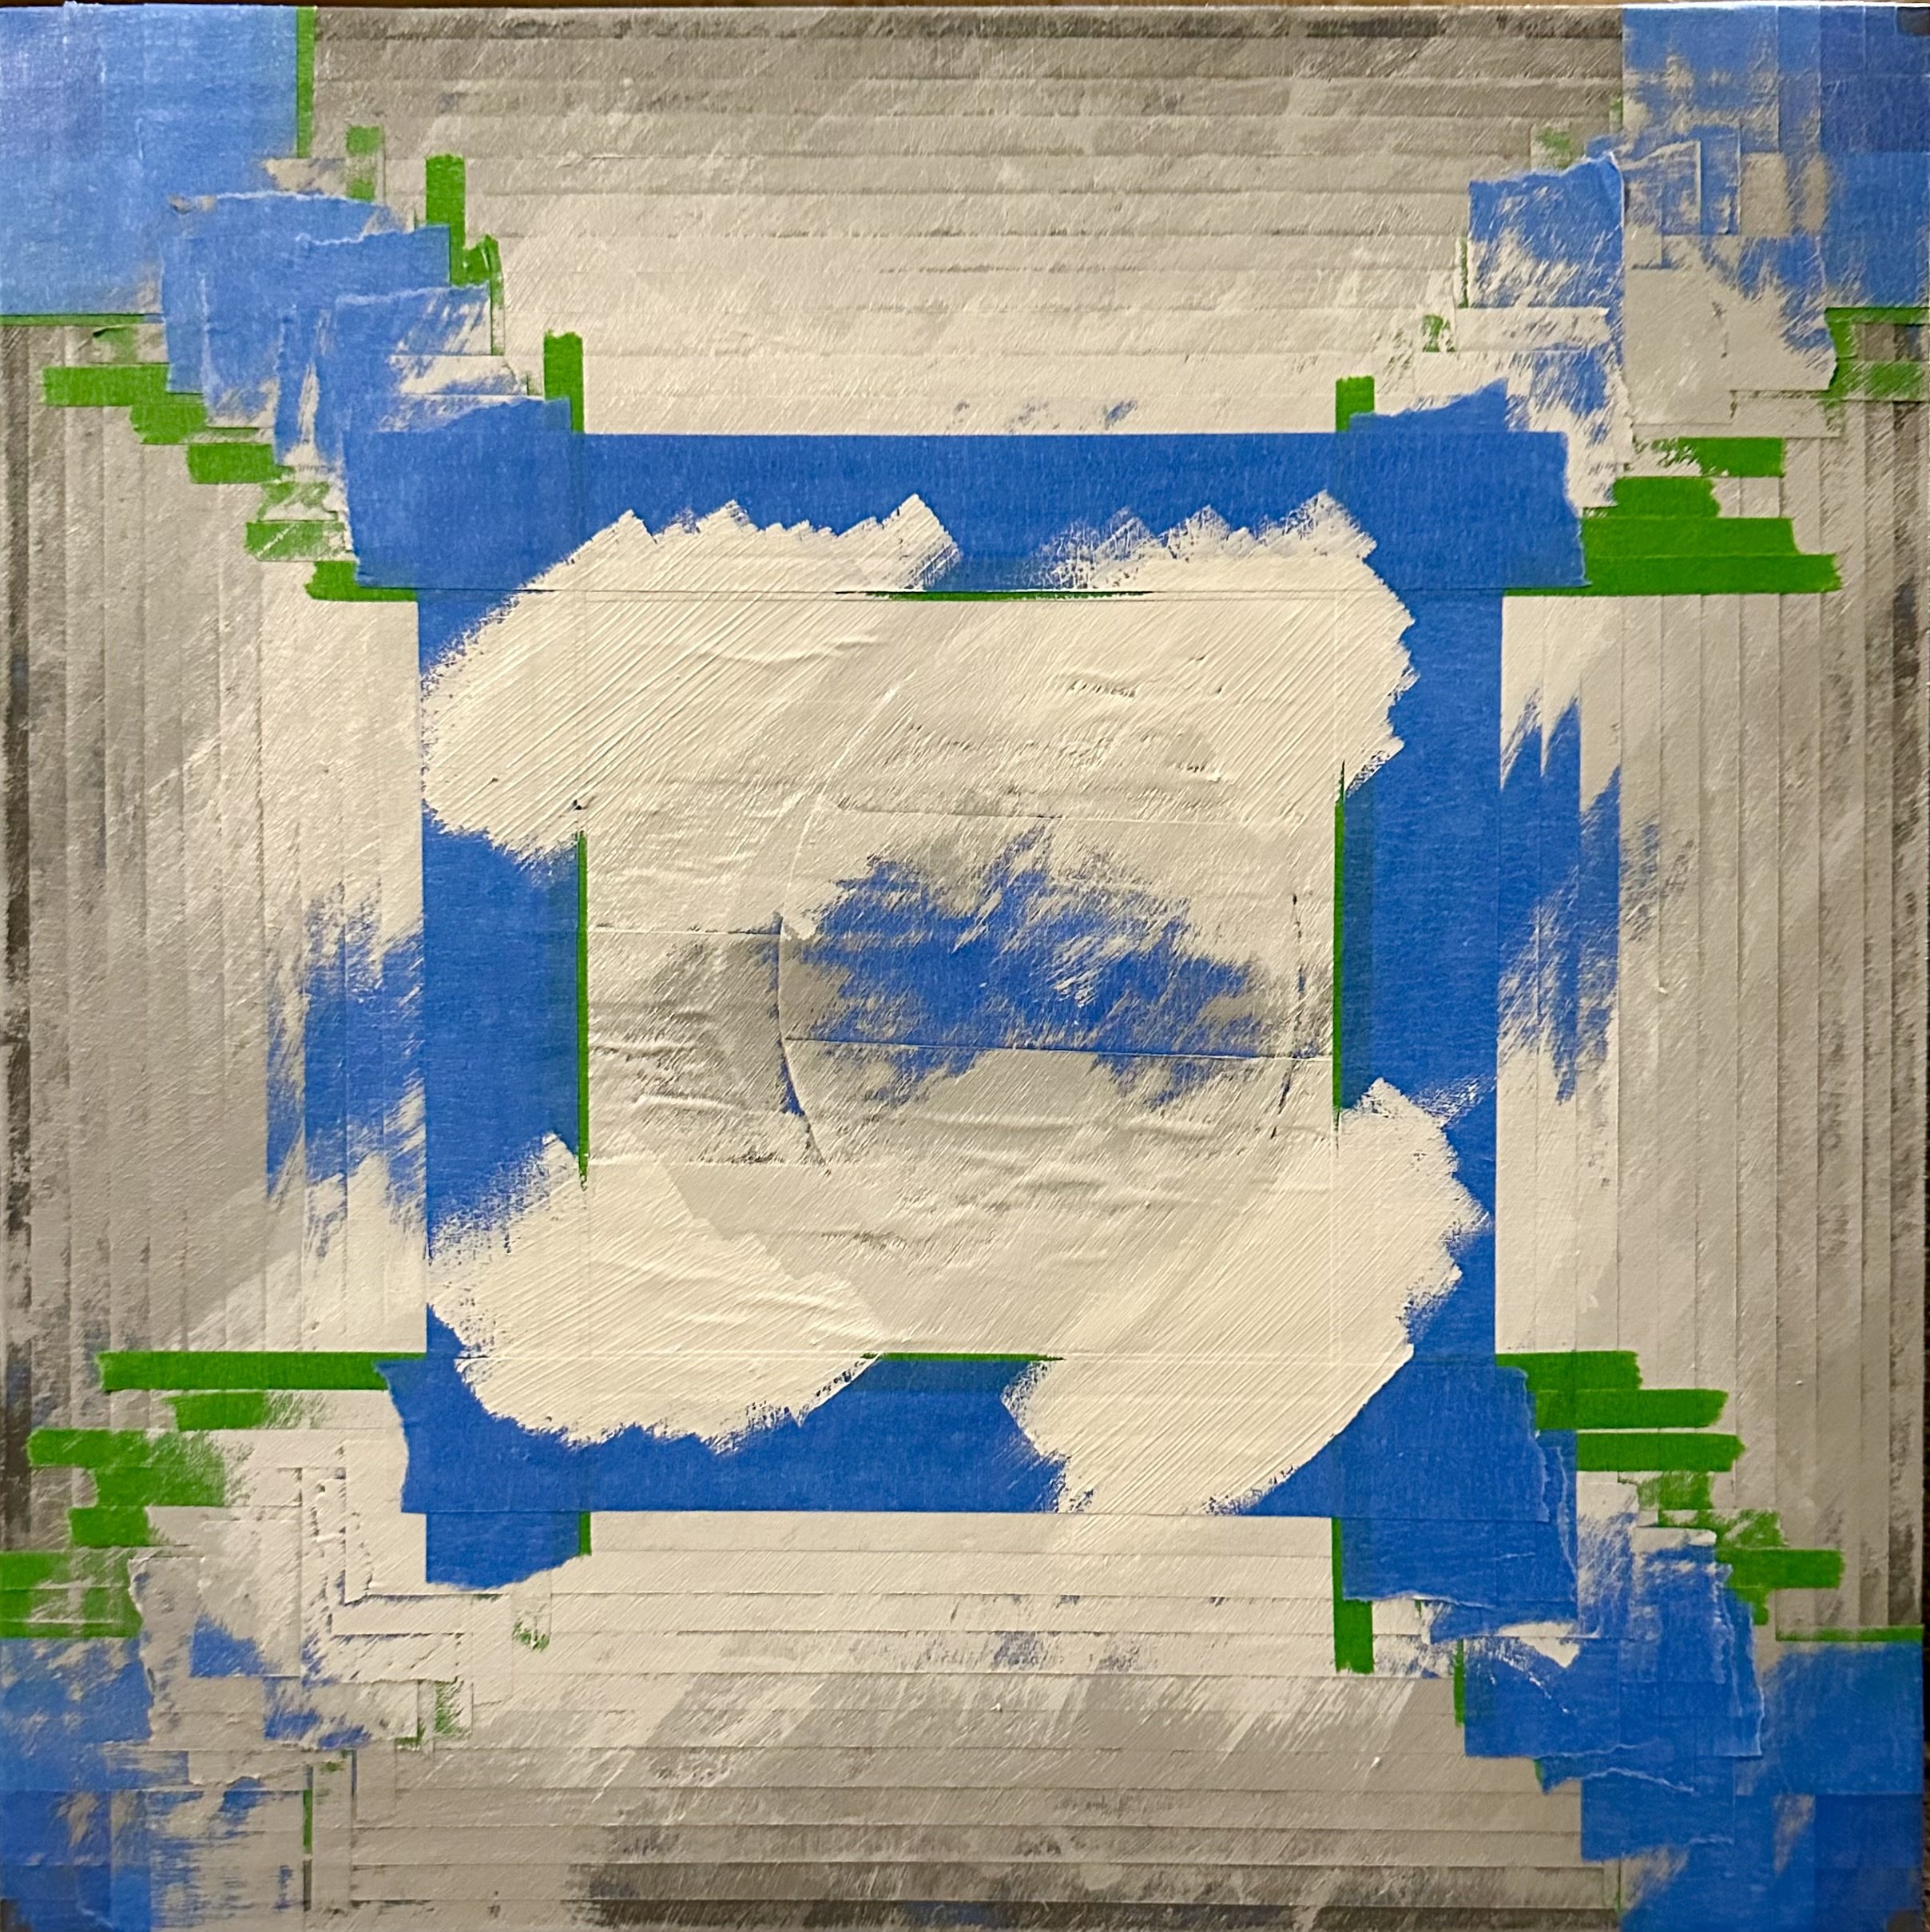
If painting a gradient, I start by masking off the area I want to paint. Then I paint that area beginning with the source color (straight from the tube)
Then, I wait for it to dry before masking off the next color for painting.
Once dried, I cover that with tape, mix in a bit of white, black, or other color to create the next color in the gradient, then paint the next element.
I repeat the process until the gradient is complete.
This process results in the panel being completely covered with tape.
the finished product
Then the fun part, I get to peel all the tape off to reveal the finished product.
I usually have a rough sketch created to guide me along the process. But, as the creative process moves along, ideas evolve and change. I never know exactly what the finished result will be.
Peeling off the tape to see the finished result is like Christmas morning when you’re 5 years old: exciting and thrilling. Except I don’t get any toy cars or Legos.